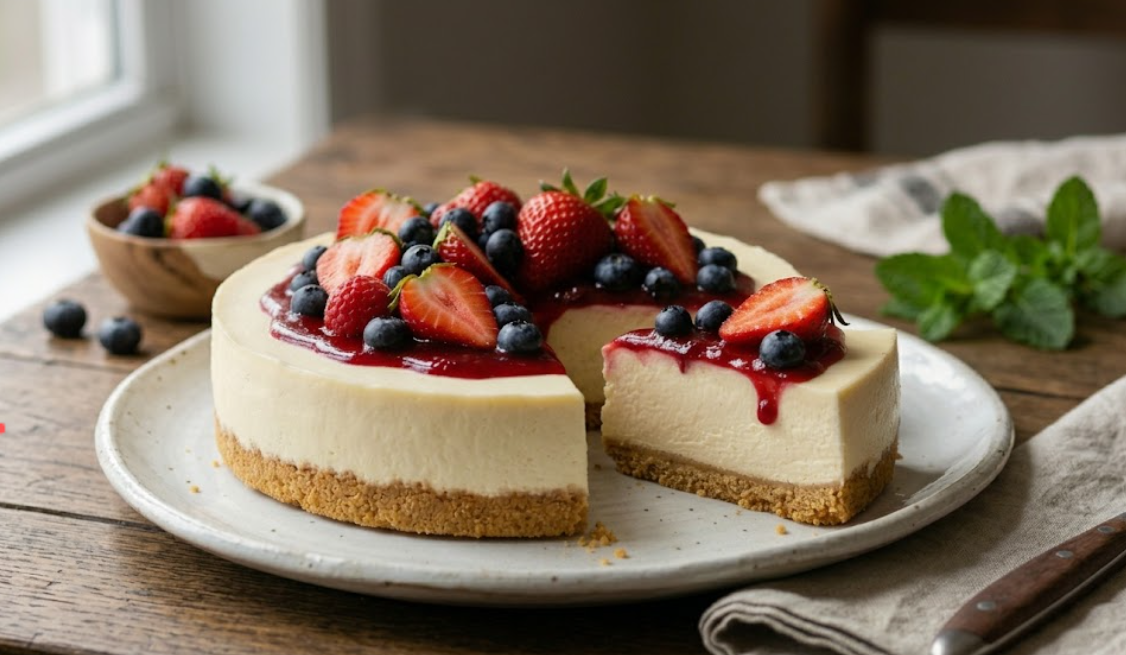
The Only No-Bake Cheesecake Recipe You’ll Ever Need
Published in: Desserts | Prep Time: 20 minutes | Chill Time: 4 hours | Servings: 10 slices
Some desserts require talent. Some require patience. And some — like this no-bake cheesecake recipe — require nothing more than a handful of ingredients, a refrigerator, and about 20 minutes of your time.
This is the cheesecake that gets requested at every single gathering. The one that disappears before you’ve even had a second slice. The one people assume took you hours to make — until you let them in on the secret.
No oven. No water bath. No cracked tops. Just pure, unapologetic cheesecake perfection.
What Makes This No-Bake Cheesecake Different
Most no-bake cheesecake recipes give you something that’s either too soft, too sweet, or too flat. This one is different because of three non-negotiable rules:
- Full-fat cream cheese only — no compromises on richness
- Freshly whipped heavy cream — folded in gently for that cloud-like texture
- Overnight chilling — the secret to bakery-perfect slices
Follow these three rules and you’ll have the best no-bake cheesecake of your life. Every single time.
Ingredients
(For 10 slices / 9-inch springform pan)
The Graham Cracker Crust:
- 2 cups graham cracker crumbs (about 15 full crackers)
- ⅓ cup granulated sugar
- ½ cup unsalted butter, melted
- Pinch of fine sea salt
The Cream Cheese Filling:
- 24 oz (3 blocks) full-fat cream cheese, at room temperature
- 1 cup powdered sugar, sifted
- 1½ teaspoons pure vanilla extract
- 3 tablespoons fresh lemon juice
- 1 teaspoon lemon zest
- 1½ cups heavy whipping cream, very cold
Topping Options:
- Fresh strawberries or blueberries
- Caramel or chocolate drizzle
- Whipped cream rosettes
- Lemon curd
- Mixed berry compote
Equipment Needed
- 9-inch springform pan
- Electric hand mixer or stand mixer
- 2 large mixing bowls
- Rubber spatula
- Food processor (or zip-lock bag + rolling pin)
- Offset spatula (for a smooth top)
Instructions
Step 1 — Crush the Graham Crackers
Place graham crackers in a food processor and blitz until you have fine, even crumbs. No large chunks — fine crumbs are what give you a crust that holds together cleanly when sliced.
No food processor? Place crackers in a sturdy zip-lock bag, seal it, and crush with a rolling pin until completely fine.
Step 2 — Make the Crust
In a medium bowl, combine graham cracker crumbs, granulated sugar, melted butter, and sea salt. Mix with a fork until every crumb is coated in butter and the mixture clumps together when squeezed — it should look and feel like wet sand.
Pour into your springform pan. Using the flat bottom of a measuring cup, press the mixture firmly and evenly across the bottom and slightly up the sides. Apply real pressure — a well-packed crust is the difference between clean slices and a crumbling mess.
Refrigerate for 20 minutes while you prepare the filling.
💡 Pro Tip: For an extra crispy crust, bake at 350°F for 8 minutes and let cool completely before adding the filling. Totally optional but absolutely worth it.
Step 3 — Whip the Heavy Cream
Pour the very cold heavy whipping cream into a large, chilled mixing bowl. Beat on medium speed for 1 minute, then increase to high speed and beat for 3-4 more minutes until stiff peaks form.
You’ll know it’s ready when you lift the beaters and the cream holds a firm, upright peak without drooping or falling to the side.
Place the whipped cream in the refrigerator while you work on the filling.
💡 Pro Tip: Chill your bowl and beaters in the freezer for 10 minutes before whipping. Cold equipment means faster, stiffer peaks and a more stable result.
Step 4 — Beat the Cream Cheese
In a separate large bowl, beat the room-temperature cream cheese on medium speed for 3 full minutes until completely smooth, fluffy, and lump-free. Stop and scrape down the sides of the bowl at least twice during this process.
This step is the foundation of your entire cheesecake. If the cream cheese isn’t perfectly smooth at this stage, no amount of mixing later will fix it.
Add the sifted powdered sugar and beat on medium speed for another 2 minutes until light and fully incorporated.
Add the vanilla extract, lemon juice, and lemon zest. Beat for 30 more seconds until glossy, smooth, and irresistibly fragrant.
Step 5 — Fold in the Whipped Cream
Remove the whipped cream from the refrigerator. Add it to the cream cheese mixture in three equal additions.
Using a large rubber spatula, fold gently with slow, deliberate strokes — scooping from the bottom of the bowl and folding up and over. Rotate the bowl slightly after each fold.
Do NOT stir, whisk, or mix aggressively. The goal is to keep every single air bubble in that whipped cream intact — those bubbles are what give this cheesecake its impossibly light, mousse-like texture.
Fold until just combined. A few faint white streaks are completely fine and won’t affect the final result.
Step 6 — Fill the Pan
Remove the chilled crust from the refrigerator. Pour the filling over the crust in one smooth motion. Use an offset spatula or the back of a large spoon to spread it into an even, smooth layer.
For a perfectly flat top, hold the spatula at a 45-degree angle and use long, confident sweeping strokes. For a more rustic swirled look, use the back of a spoon to create gentle peaks and valleys — both are beautiful.
Step 7 — Chill (The Most Important Step)
Cover the cheesecake tightly with plastic wrap — make sure it doesn’t touch the surface of the filling.
Refrigerate for a minimum of 4 hours. Overnight is strongly recommended and will give you significantly better results — a firmer texture, cleaner slices, and deeper flavor.
This is not a step you can rush. The refrigerator is doing the heavy lifting here, so let it work.
Step 8 — Release, Top, and Serve
When ready to serve, run a thin sharp knife around the entire inner edge of the springform pan before releasing the latch. This prevents the cheesecake from sticking and gives you a perfectly clean, smooth edge.
Release the springform ring slowly and carefully. Transfer to a serving plate or cake stand.
Add your toppings of choice — or serve it completely plain. Both ways are spectacular.
To slice: use a sharp knife dipped in hot water and wiped clean between every single cut. This gives you those picture-perfect, bakery-clean slices that look absolutely stunning on a plate.
Topping Ideas — From Simple to Showstopping
🍓 Fresh Strawberry Topping
Hull and slice 2 cups of fresh strawberries. Toss with 2 tablespoons sugar and 1 teaspoon lemon juice. Let sit for 15-20 minutes until the berries release their juices and become glossy and syrupy. Spoon over the chilled cheesecake right before serving.
🫐 Blueberry Compote
In a small saucepan, combine 2 cups blueberries, 3 tablespoons sugar, 1 tablespoon lemon juice, and 1 teaspoon cornstarch. Cook over medium heat for 8-10 minutes, stirring occasionally, until thick, jammy, and deeply fragrant. Cool completely before spooning over the cheesecake.
🍫 Dark Chocolate Ganache
Heat ½ cup heavy cream until just below simmering. Pour over 4 oz of finely chopped dark chocolate. Let sit undisturbed for 2 minutes. Stir slowly from the center outward until silky, glossy, and perfectly smooth. Let cool for 5 minutes before drizzling or pouring over the cheesecake. Allow the ganache to drip dramatically down the sides for a professional, stunning finish.
🍮 Salted Caramel
Drizzle generously with store-bought or homemade caramel sauce. Immediately finish with a pinch of flaky sea salt scattered over the top. The contrast of sweet caramel and salt against the tangy cream cheese is nothing short of extraordinary.
🍋 Lemon Curd & Whipped Cream
Spread a thin, even layer of store-bought lemon curd over the top of the chilled cheesecake. Pipe or dollop whipped cream rosettes around the edge. Garnish with thin lemon slices and fresh mint. Elegant, beautiful, and guaranteed to impress.
Flavor Variations to Try
| Variation | What to Change |
|---|---|
| Oreo No-Bake Cheesecake | Oreo crust + fold in 1 cup crushed Oreos + top with Oreo crumbles |
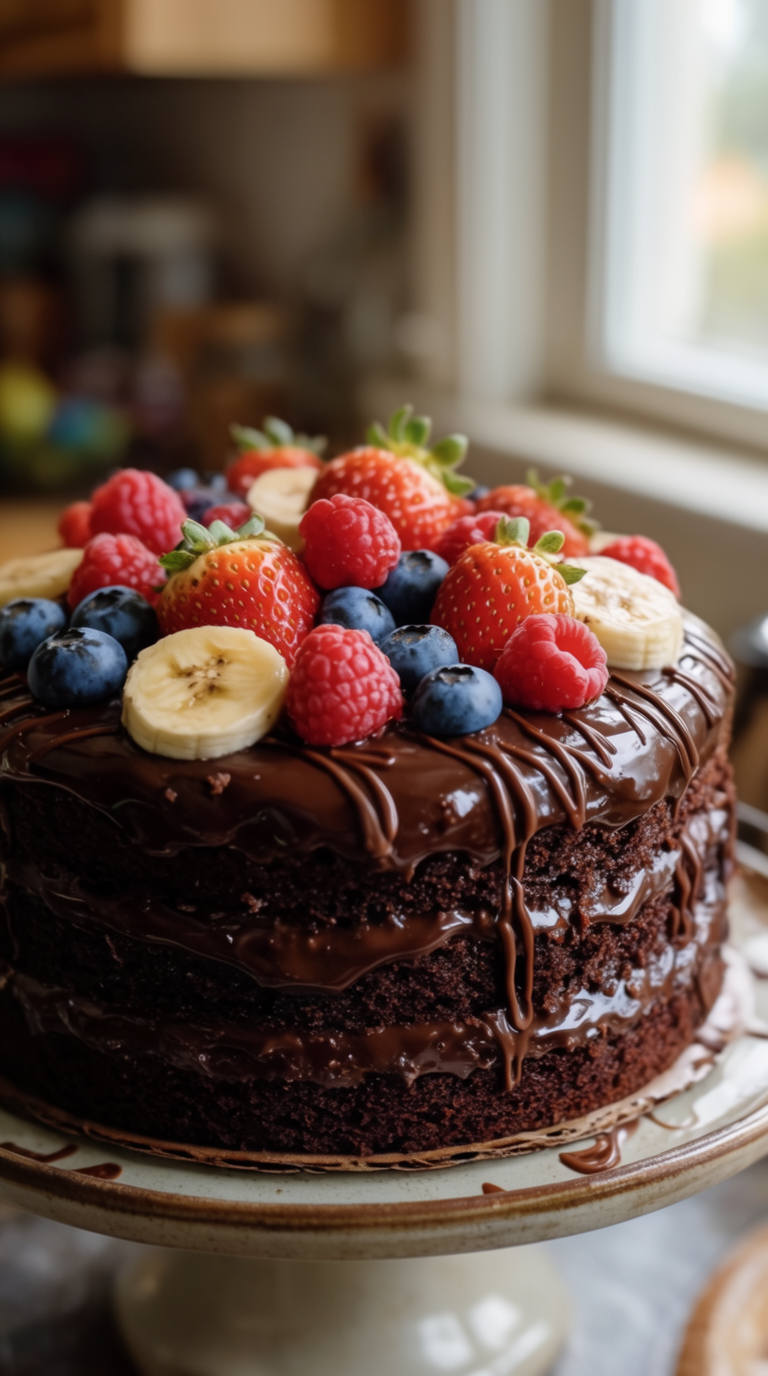
| Chocolate Cheesecake | Add ½ cup melted dark chocolate to the filling before folding in cream |
| Peanut Butter Cheesecake | Add ½ cup creamy peanut butter to the cream cheese mixture |
| Strawberry Swirl | Fold ⅓ cup strawberry jam into the filling just before pouring — don’t fully mix |
| Mango Cheesecake | Replace lemon with lime + fold in ½ cup mango puree + top with fresh mango |
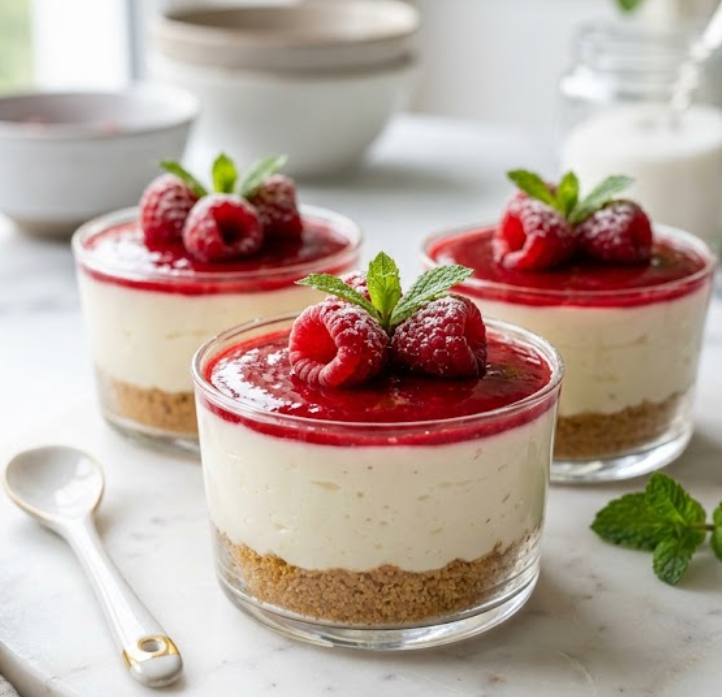
| Mini Cheesecakes | Use a muffin tin lined with cupcake liners — makes 12 perfect individual portions |
| Pumpkin Spice | Add ½ cup pumpkin puree + 1 teaspoon pumpkin spice to the filling |
Storage Instructions
Refrigerator: Store the cheesecake covered in the springform pan or transfer individual slices to an airtight container. Keeps perfectly fresh for up to 5 days in the refrigerator. The flavor actually improves on day 2 as everything settles and deepens.
Freezer: This cheesecake freezes beautifully. Wrap individual slices tightly in a double layer of plastic wrap, then place in a freezer-safe zip-lock bag. Freeze for up to 2 months.
To serve: thaw overnight in the refrigerator — never at room temperature. Add toppings after thawing, never before freezing.
Troubleshooting Guide
The filling is too soft and won’t set: The heavy cream was likely not whipped to stiff peaks, or the cream cheese was too warm. Make sure both are at the correct temperature before starting, and whip the cream until it holds a completely firm peak.
The crust crumbles when sliced: The crust wasn’t pressed firmly enough, or the butter ratio was slightly off. Next time, press with significantly more force using the flat bottom of a measuring cup. Adding 1 extra tablespoon of butter to the crumb mixture also helps.
The filling has lumps: Lumps come from cold cream cheese. Always bring cream cheese to full room temperature — at least 2 hours out of the fridge. Beat it alone for 3-4 minutes before adding anything else.
The top looks uneven: Use an offset spatula dipped in warm water for the smoothest possible finish. Work quickly with confident strokes rather than fussing over one spot.
Frequently Asked Questions
Can I make this without a springform pan? Yes — use a deep pie dish lined with plastic wrap overhanging the edges. The plastic wrap lets you lift the entire cheesecake out cleanly for slicing.
Can I use Cool Whip instead of heavy cream? Yes. Substitute with one 8 oz container of thawed Cool Whip. Fold it in exactly as you would the whipped cream. The texture will be slightly lighter but still delicious and perfectly set.
How far in advance can I make this? Up to 2 days in advance is ideal. The cheesecake holds beautifully in the fridge and actually tastes better after resting overnight.
Can I make this gluten-free? Absolutely — swap regular graham crackers for certified gluten-free graham crackers or digestive biscuits. The filling is already 100% gluten-free.
Why does my cheesecake taste too sour? Reduce the lemon juice to 1½ tablespoons and increase the powdered sugar slightly. Different brands of cream cheese also vary in tanginess — Philadelphia is the most reliable and consistently balanced.
What is the best cream cheese brand to use? Philadelphia full-fat block cream cheese is the gold standard for no-bake cheesecakes. Avoid tub-style or whipped cream cheese — they contain too much water and air, resulting in a filling that won’t set properly.
Nutritional Information (per slice, plain, no topping)
| Amount | |
|---|---|
| Calories | ~430 kcal |
| Protein | 6g |
| Carbohydrates | 30g |
| Fat | 33g |
| Sugar | 20g |
| Fiber | 0.5g |
Values are approximate and vary based on brands and toppings used.
Final Thoughts
This no-bake cheesecake is proof that the most impressive desserts don’t require the most effort. With just a few simple ingredients and one night of patience, you’ll have a dessert that stops conversations, earns compliments, and disappears from the table embarrassingly fast.
Make it once and it will become your most requested recipe. We promise.
Try it this weekend — then come back and tell us in the comments which topping you chose and how it turned out! 👇
Did this recipe blow your mind? Save it to your Pinterest dessert board and share it with someone who deserves a slice! 📌